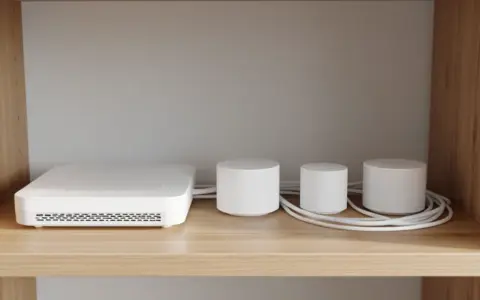


Water leak sensors can provide an early warning when moisture reaches a place that should be dry. That warning may turn a small appliance drip, loose fitting, or overflowing drain into a manageable response instead of a surprise discovered hours later. The useful word is warning: a sensor reports conditions at its sensing points, not the condition of every pipe, valve, hose, drain, roof surface, or concealed cavity in the home.
A dependable setup combines well-chosen locations, reliable alerts, regular tests, and a response plan that everyone understands. Sensors do not replace visual inspection, preventive maintenance, or a qualified plumber, appliance technician, roofer, restoration specialist, or other professional when the situation calls for one. Follow each device and appliance manual, your lease or building rules, and local requirements. Do not open walls, move hard-wired equipment, or attempt a repair beyond your skills merely because an app identifies a room.
Start with a water-risk walk-through
Walk through the home before buying or placing anything. Look for fixtures, appliances, supply connections, drains, tanks, pumps, and areas below plumbing. Note previous stains, swollen materials, corrosion, recurring condensation, aging hoses, slow drains, and repairs that deserve follow-up. In a rental, document concerns and use the maintenance channel required by the lease rather than altering plumbing or installing a shutoff device without permission.
The walk-through is not a substitute for an inspection. Hidden deterioration may exist with no visible mark, and an inexpensive puck on a floor cannot assess pipe integrity. If you see active dripping, damaged supply lines, a soft ceiling, sewage, mold-like growth, electrical hazards, or persistent unexplained dampness, keep people away from the hazard and contact the appropriate building representative or qualified professional. Install sensors after urgent conditions are addressed, not as a way to postpone them.
Rank locations by likelihood and consequence
A high-risk area is one where a leak is reasonably possible, the water may remain unnoticed, or the consequences could spread quickly. Common candidates include the washing machine, water heater, dishwasher, refrigerator water connection, under-sink cabinet, sump area, utility room, and a bathroom used infrequently. A lower-floor spot beneath plumbing may also matter, but only if it is safe and the device is designed for that environment.
Do not scatter devices by symmetry. Rank locations using three questions: where would water first collect, how soon would someone normally notice, and what could it reach? A rarely visited utility closet above finished space may deserve attention before a frequently used sink on a waterproof floor. Consider children, pets, wheelchairs, cleaning routines, and storage so a sensor does not become a trip hazard or get kicked away.
| Area | Placement thought | Check beyond the sensor |
|---|---|---|
| Washing machine | Near supply and drain connections, outside the machine footprint | Hoses, valves, drain behavior, vibration, and manual clearances |
| Water heater | At a likely low point near the unit, without blocking a drain or service access | Pan, drain path, corrosion, relief components, and professional maintenance |
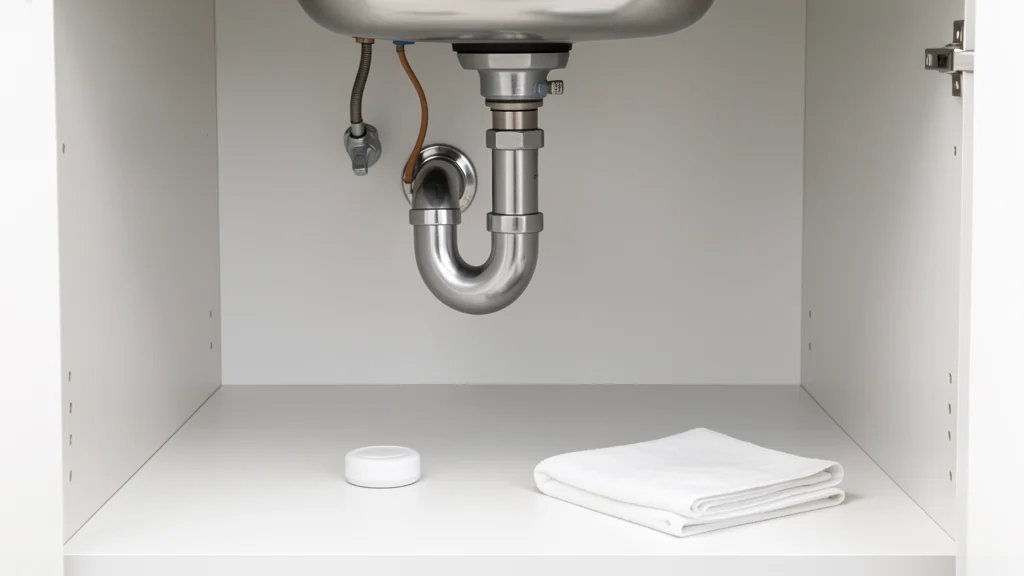
| Sink cabinet | On a stable low surface near supply and drain plumbing | Fittings, cabinet damage, stored chemicals, and slow seepage |
| Dishwasher or refrigerator | Where an extension probe can safely reach if the manual permits | Supply connection, flooring edges, appliance manual, and service access |
| Sump or basement low point | At a representative dry boundary, not in standing water unless rated for it | Pump operation, discharge route, backup plan, and electrical safety |
Choose the sensing method for the surface
Some devices sense water through contacts on the base; others use a cable or detachable probe. Base contacts work only when water reaches that exact footprint. A cable can cover a longer edge, but it still has gaps and must be routed according to the manual. Confirm whether the sensor is intended for a dry indoor floor, humid room, crawlspace, or another specific environment. Do not infer a water-resistance rating that the manufacturer does not state.
Think about the surface itself. Water may run under an appliance, follow grout, soak into wood, or collect at a low seam far from the source. Place the sensing element on a stable surface along the probable path, not on a soft towel or absorbent pad that can delay contact. Never put a sensor inside a drain pan if its instructions prohibit immersion or if doing so interferes with drainage.
Protect service access and drainage
A sensor should not make the area harder to inspect. Leave appliance panels, shutoff valves, floor drains, cleanouts, and walking routes accessible. Avoid pinching probe cables beneath appliances or running cords where they can be abraded. Keep battery devices away from heat or moisture conditions outside their rating. For plug-in equipment, follow electrical instructions and never use an unsafe extension arrangement near water.
Clear nearby clutter so an alert can be investigated without moving boxes through a wet area. The same principle behind safely organizing the cabinet under a kitchen sink applies here: visibility and access matter more than filling every available inch. Do not store reactive cleaners together, and do not reach through water toward powered equipment.
Decide how alerts should travel
A local siren can help someone who is home, while an app or hub may notify a person elsewhere. List every dependency between the sensor and the final alert: battery, hub, Wi-Fi, router, internet service, cloud account, phone permissions, notification settings, and cellular service. A connected icon does not guarantee that every step works. Keep the local alarm enabled when the device supports it, especially if remote alerts depend on several systems.
Choose a primary and backup recipient. Shared access should be limited to people who need it, with unique passwords, multifactor authentication when available, current software, and the minimum permissions necessary. If practical, place connected home devices on a separated guest or IoT network. Review what data the vendor stores and disable unneeded integrations. Household resilience also means knowing what happens during a connection failure; an organized seasonal home review is a sensible time to revisit recipients and offline procedures.
Install without improvising around plumbing
For a simple battery sensor, setup may only require installing approved batteries, pairing the device, naming the location, and placing it as directed. Use names that prompt action, such as “laundry supply wall,” rather than “sensor three.” Record the purchase date, battery type, and testing method. If mounting is needed, check for concealed utilities before drilling and obtain required rental or building approval.
An automatic shutoff valve is a different class of project. Compatibility, pipe material, valve location, water pressure, power, accessibility, fire-suppression arrangements, irrigation, warranties, and local plumbing rules can all matter. Use a qualified professional where installation changes plumbing or wiring. Never disable a required system or assume that a valve marketed as automatic will stop every source of water. The home may still face water already in pipes, appliance reservoirs, drains, roofs, groundwater, or neighboring units.
Test the whole alert chain
Follow the manual’s test procedure. If it permits a damp test, use only the small amount and method specified; do not flood the floor or immerse the unit. Confirm the sensor sounds, the correct room name appears, each intended phone receives the alert, and any hub indicates the event. Test while a recipient is away from home Wi-Fi if remote delivery is important. Then dry and reset the equipment exactly as instructed.
Run a household drill with no actual water. The person receiving the message should know whom to call, how to verify the location without entering a hazard, and where approved shutoffs are. Do not have children operate valves. Adults should not turn a stuck, corroded, unlabeled, or inaccessible valve by force. Ask a plumber or building manager to identify controls and address valves that cannot be operated safely.
Create an alert response in plain language
When an alarm sounds, first consider immediate hazards. Do not step into standing water near outlets, cords, appliances, a service panel, or energized equipment. Do not touch a wet electrical device. If sewage, hot water, a collapsing material, or a substantial uncontrolled flow is involved, leave the affected area and contact emergency, utility, building, or professional help appropriate to the situation.
If the area is safe to approach, inspect from a dry position and identify whether the alert is active water, condensation, a spill, cleaning moisture, or a test. Stop the source only if the action is known, accessible, permitted, and safe. Notify the property manager when required. Photograph damage without delaying urgent action, move vulnerable belongings only when safe, and arrange qualified repair and drying. Silencing the alarm is not the end of the response.
Maintain the system as conditions change
Set a recurring test interval based on the manual and household circumstances. Inspect batteries for leakage or damage, clean sensing contacts only with approved methods, verify firmware and app permissions, and confirm that phone numbers and recipients are current. Replace batteries on the manufacturer’s schedule or when the device reports low power. If a sensor fails a test, remove it from reliance until it has been corrected or replaced.
Reassess placement after an appliance replacement, plumbing work, remodeling, a move, or a near miss. A new machine may have different clearances or connections. Storage may redirect water or cover a probe. Seasonal humidity can create nuisance alerts that still deserve investigation rather than automatic dismissal. The EPA’s WaterSense guidance on finding and fixing leaks reinforces the larger point: monitoring works best alongside routine checks and timely repair.
Learn from alerts without normalizing them
Record the date, location, apparent cause, action, and final repair. A short log can reveal recurring drain backups, condensation, failed seals, or accidental spills. Repeated alerts from one place are not proof that the sensor is overly sensitive. Inspect the location and have the underlying condition evaluated. Conversely, months without an alarm do not certify that plumbing is sound.
Review the log during broader maintenance planning. If past incidents show that access was blocked or nobody knew the shutoff, fix that process. A basic home toolkit can support ordinary observation and simple manual-approved tasks, but it does not turn an untrained person into a plumber or electrician. Escalate concealed leaks, structural damage, persistent moisture, unsafe electricity, and repairs outside your competence.
Frequently asked questions
How many water leak sensors does a home need?
There is no universal number. Start with the locations where a leak is likely to remain unnoticed or cause significant damage, then expand only after testing the alert and maintenance routine. Building layout, appliance connections, prior problems, household mobility, and budget all affect the answer. One well-maintained sensor is useful at its location, but it cannot clear the rest of the home.
Can a leak sensor find water inside a wall?
Not unless water reaches its sensing point or the device is specifically designed and installed for another measurement. A dry floor sensor does not rule out moisture behind a wall, beneath flooring, or inside a ceiling. Stains, odors, soft materials, unexplained meter movement, recurring dampness, or other warning signs deserve inspection by the appropriate professional even when the app shows normal status.
Should I buy a sensor with automatic shutoff?
Automatic shutoff may reduce flow from some supply-line events, but it adds installation, compatibility, power, maintenance, and false-trigger considerations. Discuss the building’s plumbing and household needs with a qualified professional, follow the manufacturer documentation, and preserve manual response plans. No automatic valve covers every water source or guarantees protection from damage.
What should I do after a nuisance alert?
Inspect safely before labeling it a nuisance. Condensation, a small spill, cleaning water, a slow seep, or incorrect placement may be involved. Dry and reset the unit according to its manual, correct the cause, and test again. If alerts recur without an obvious explanation, contact device support and have the area evaluated rather than disabling warnings indefinitely.
Make the warning actionable
Water leak sensors are most valuable when their message reaches someone who can respond safely and quickly. Good placement, clear names, tested notifications, accessible shutoff information, and regular maintenance turn a small device into a practical early-warning layer. Keep its limitations visible: it senses only what reaches it, it can fail, and it cannot inspect or repair a home.
Begin with a careful walk-through and one or two priority areas. Test every link, write the response steps, and correct the maintenance concerns found along the way. That measured approach is more protective than treating a screen full of “dry” readings as proof that nothing is wrong.